Washing & Drying
The Two-Bucket Wash Method, Explained
Learn how the two bucket wash method keeps grit off your mitt and prevents swirl marks. Step-by-step guide with gear list and common mistakes.
Most swirl marks and fine scratches on a car's paint don't come from road debris. They come from washing. Specifically, from dragging the same dirty mitt across the paint over and over, carrying grit from one panel to the next. The two bucket method exists to stop that cycle before it starts.
It's a simple system. One bucket holds soapy water. The other holds clean water for rinsing your wash mitt. A grit guard sits at the bottom of each. The whole point is that dirt stays in the rinse bucket, not on your paint.
At a Glance
- Two buckets, two jobs: one holds soapy water for loading the mitt, the other holds plain water for rinsing grit out of it before you reload.
- A grit guard in each bucket is what actually separates you from settled dirt; without one, agitating the mitt just stirs the contamination back into the water.
- Work top to bottom, one panel at a time, rinsing the mitt against the grit guard after every single panel, not just when it feels dirty.
- Add a third bucket for wheels. Brake dust is chemically different from road grime and will contaminate your paint mitt if you cross-use it.
- Where and how you dump your wash water matters too. Never pour bucket water into a storm drain; a sink, toilet, or grass strip is the responsible option.
- The technique costs a few extra minutes per wash and adds no ongoing cost. The payoff shows up as fewer fine scratches under direct sunlight, over months and years.
Why this matters more than it seems
Paint looks flat to the naked eye, but under a light source it's full of microscopic peaks and valleys. When a particle of road grit gets trapped between your mitt and the clear coat, it drags. You're essentially scribing a fine line into the finish. Do that hundreds of times per wash, and the paint takes on that hazy, swirled look that's visible in direct sunlight; it's the same mechanical marring that makes automated brush car washes a known swirl risk.
A single-bucket wash concentrates every piece of grit you've collected back into your soapy water. Each time you reload the mitt, you're picking up contamination along with the suds. The two bucket wash breaks that loop. The rinse bucket catches the dirt. The wash bucket stays clean.
This is also why washing a car without scratching it depends so heavily on process, not just products. A premium shampoo won't save you if the application method is grinding grit into the paint.
What you need
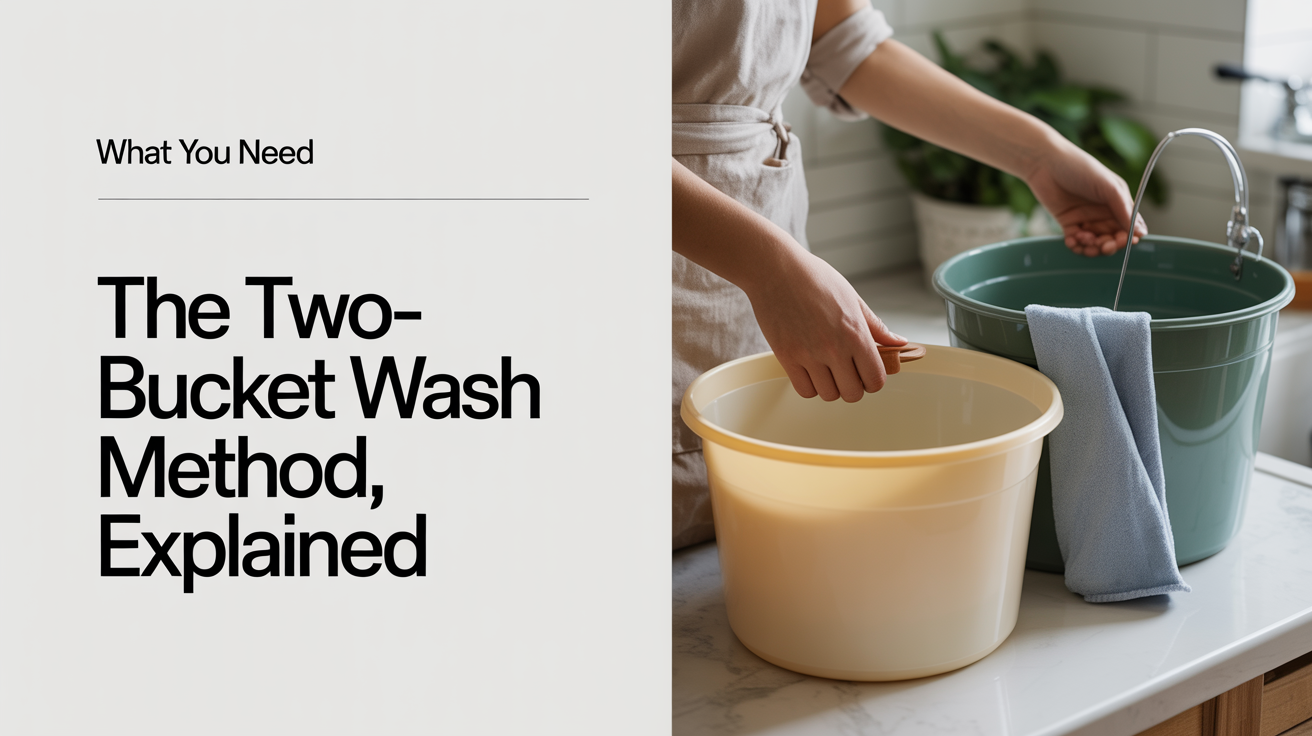
The gear list is short and inexpensive. You don't need anything exotic.
- Two buckets, 3.5 to 5 gallons each. Standard hardware store buckets work fine. Color-coding them helps: one color for wash, one for rinse.
- Two grit guards, one per bucket. A grit guard is a plastic grid that sits an inch or two off the bottom. When you agitate your mitt against it, dirt falls through the grid and settles below, away from the water you'll reload from.
- A quality wash mitt. Microfiber or genuine sheepskin. Avoid sponges: they trap grit in a flat face and hold it against the paint.
- A pH-neutral car shampoo. Something that lubricates well so the mitt glides rather than drags. Look for a product labeled phosphate-free and biodegradable where possible; it's better for whatever water source your runoff ultimately reaches.
- A separate wheel brush or mitt. Wheels are the dirtiest part of the car. Never use your paint mitt on the wheels.
Optional but useful: a foam cannon or foam gun to pre-coat the car in suds before you touch it with the mitt. This loosens surface dirt so the mitt has less work to do. See foam cannon vs foam gun if you're deciding between the two.
Here's the full kit with typical specs and approximate cost, so you know what you're actually shopping for:
| Item | Typical spec | Approx. cost | Purpose |
|---|---|---|---|
| Wash bucket | 5 gallon | $5-$10 | Holds diluted shampoo |
| Rinse bucket | 5 gallon | $5-$10 | Holds plain water for mitt rinsing |
| Grit guards (x2) | Fits 5 gallon bucket | $8-$15 each | Traps dirt below the agitation zone |
| Wash mitt | Microfiber or sheepskin | $10-$25 | Contact wash tool |
| pH-neutral shampoo | 1:200 to 1:400 dilution (check label) | $10-$20/bottle | Lubricates the wash |
| Wheel bucket (3rd bucket, optional) | 3.5-5 gallon | $5-$10 | Keeps brake dust off the paint mitt |
| Foam cannon or gun (optional) | Attaches to pressure washer or hose | $25-$60 | Pre-soak to loosen surface grime |
Total startup cost for the core two-bucket kit lands around $40 to $70, and every piece except the shampoo lasts for years.
The step-by-step rhythm
The method only works if you follow the sequence consistently. Here's how to run it.
-
Rinse the car first. Use a hose or pressure washer to knock off loose dirt, road grime, and any large debris. Start at the top and work down. This step removes material that would otherwise load up your mitt immediately.
-
Fill your buckets. Wash bucket gets shampoo and water per the product's dilution ratio. Rinse bucket gets plain water. Drop a grit guard in each.
-
Pre-soak with foam (optional but recommended). If you have a foam cannon or gun, coat the car in diluted shampoo and let it dwell for a minute or two. Don't let it dry.
-
Load the mitt from the wash bucket. Squeeze it to work the suds in, then start washing at the top of the car. Work one panel at a time: roof, then glass, then upper doors, lower doors, front bumper, rear bumper. Gravity is your friend; dirt runs down.
-
After each panel, rinse the mitt in the rinse bucket. Push the mitt down against the grit guard and agitate it a few times. The grid knocks dirt loose, which settles to the bottom of the bucket. The mitt comes out cleaner.
-
Reload from the wash bucket. Fresh suds, clean mitt, next panel.
-
Rinse the car thoroughly. Work top to bottom again. Get into the panel gaps and around trim pieces where shampoo likes to hide.
-
Dry immediately. Standing water leaves mineral deposits. A clean microfiber drying towel or a blower does the job. For technique, see how to dry a car without water spots.
That rhythm, rinse mitt, reload suds, one panel at a time, is what separates a two bucket wash from a careless one-bucket scrub.
The three-bucket variation for wheels
Wheels deserve their own setup. Brake dust is abrasive and chemically bonded to the surface in a way road dirt isn't. If you carry your paint mitt to the wheels and back, you're introducing brake dust to the paint.
Add a third bucket for wheels only. Fill it with water and a wheel-safe cleaner. Use a dedicated wheel brush or mitt. Wash wheels before touching the paint so any splash-back from the wheel cleaning doesn't land on a panel you've already finished.
Some detailers do wheels last, after the paint, to avoid exactly that splash-back issue. Either way, keep the equipment separate.
Where your wash water actually goes
It's easy to think of a driveway wash as self-contained, but the water has to go somewhere once it leaves the car. On a paved driveway or street, it typically runs straight into the nearest storm drain, and storm drains generally discharge untreated into local waterways rather than a treatment plant. An EPA best-practices fact sheet on vehicle washing notes that residential car washing is one of the more common sources of detergent, oil, and heavy-metal runoff reaching storm drains, and recommends using phosphate-free, biodegradable detergents and limiting the amount used.
The fix costs nothing extra. A University of Florida IFAS Extension guide to reducing stormwater pollution recommends washing on gravel or grass rather than a paved driveway, since a permeable surface gives the water a chance to filter through soil before it reaches groundwater or a storm drain. The same guide is specific about the buckets themselves: never dump wash-bucket water into a storm drain or directly onto bare ground where it can run off; pour it into a sink or toilet at the end of the wash instead, or dump it on a grassy area away from the paved surface. It's a small habit that fits naturally into the two bucket method, since you're already managing two dedicated buckets instead of a single hose running continuously.
Common mistakes
Using the rinse bucket to reload suds. The buckets have distinct jobs. If you're scooping from the rinse bucket because the wash bucket ran low on suds, the method falls apart. Top up the wash bucket or mix a fresh batch.
Skipping the initial rinse. Starting with a dry, dirty car and going straight to the mitt is the fastest way to scratch paint. The rinse removes the loose material that would otherwise act like sandpaper under the mitt.
Letting sections dry before rinsing. Shampoo left to dry on paint can spot or streak. On a hot day, work in the shade if possible, or wash in smaller sections and rinse each one before moving on.
Using the same mitt for the whole car. A single microfiber mitt can hold a lot of grit by the time you reach the lower panels. Some detailers use two mitts, swapping halfway through. At minimum, give the mitt a thorough rinse against the grit guard between every panel.
Skipping the grit guard. The bucket alone doesn't do much. Dirt stirs back up from the bottom every time you agitate the mitt. The grit guard physically separates you from the settled contamination. It's worth the few dollars.
Washing lower panels and rockers with the same section of mitt you started with. The bottom third of most cars, rocker panels, lower doors, wheel arch lips, carries the heaviest road film of any area. If your mitt is already loaded from the roof and hood by the time you reach it, you're pressing the dirtiest grit into the paint with the least amount of clean lubrication left in the fibers. Give the lower panels a fresh, well-rinsed mitt if you can.
FAQ
Do I really need two separate grit guards, or is one enough?
One in the rinse bucket is the minimum. The rinse bucket is where you're dumping the dirty mitt, so that's where contamination builds up fastest. A second guard in the wash bucket adds extra protection and keeps the suds cleaner longer. Buy both.
What size buckets should I use?
Five-gallon buckets are standard and give you room to properly agitate the mitt without splashing. Three-gallon buckets work but feel cramped. Avoid anything smaller.
Can I use the two bucket method with a foam cannon?
Yes, and it works well together. The foam pre-treatment loosens surface grime so your mitt is doing less heavy lifting. You still follow the same two-bucket rhythm for the contact wash phase. The foam step doesn't replace the mitt; it just makes the mitt's job easier.
How often should I change the water in my buckets?
When the rinse bucket looks visibly dirty, change it. On a very dirty car, you might dump and refill mid-wash. The wash bucket should stay reasonably clear; if it's cloudy or full of grit, the mitt has been carrying contamination into it.
Is the two bucket method worth it for a quick maintenance wash?
Yes. The technique takes no extra time once it's habit. The setup is the same whether the car is lightly dusty or covered in road salt. The difference in paint condition over months and years is significant enough that there's no good reason to skip it.
Where should I actually dump my used wash water?
Not into a street gutter or storm drain; that water typically runs untreated into a nearby creek or lake. Pouring it into a sink or toilet connected to the sanitary sewer is the safest option, since that water gets treated. If that's not practical, dumping it on a grassy area away from pavement lets the soil filter it before it reaches any waterway.
Is a foam-only wash (no bucket contact at all) a safe substitute?
For a lightly dusty car between full washes, a heavy foam pre-soak followed by a thorough rinse and no mitt contact can work as a low-risk touch-up. It won't remove bonded contamination the way a contact wash does, so it's a supplement to the two bucket method, not a replacement for it on a genuinely dirty car.