Wheels & Tires
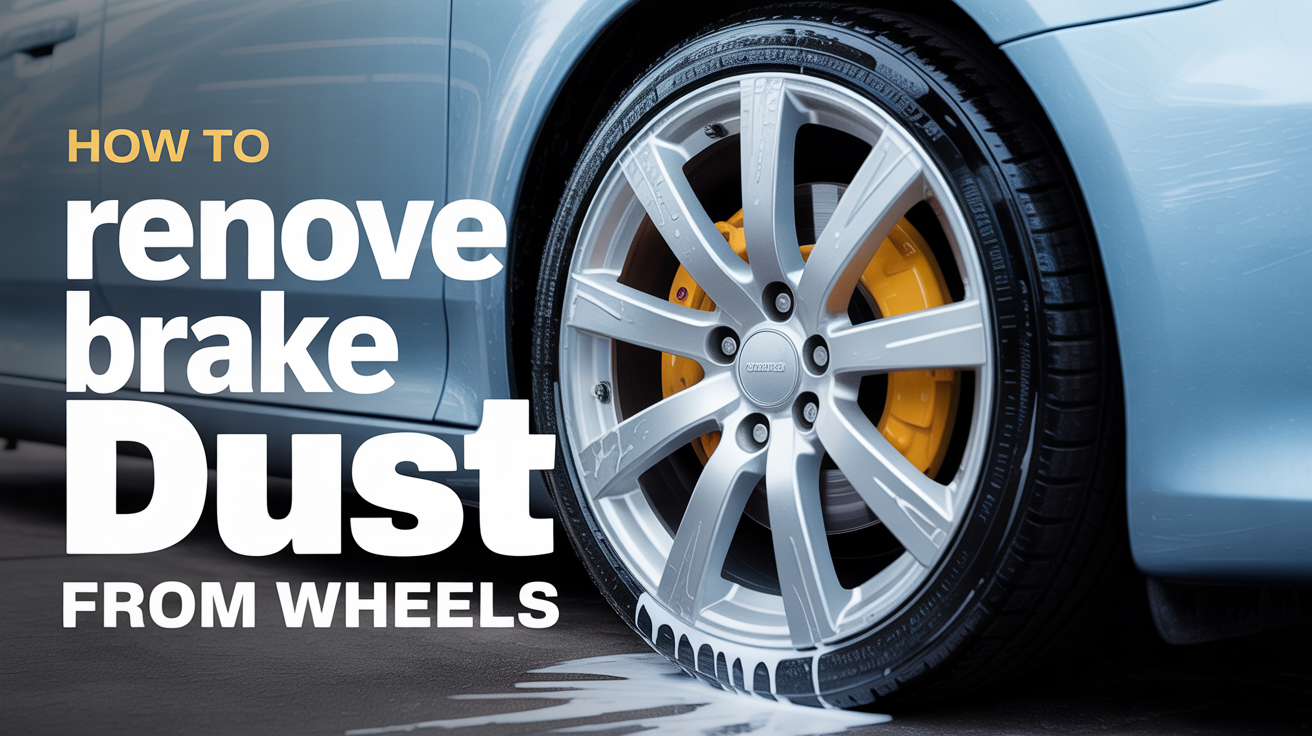
How to Remove Brake Dust From Wheels
Learn how to remove brake dust from wheels safely and effectively, including tips for baked-on buildup and the right products for every finish.
Brake dust is one of those things that looks minor when you first notice it but turns into a serious cleaning problem if you ignore it long enough. That gray-brown coating on your wheels is not just dirt. It is a mixture of carbon fibers, metal particles shed from your brake rotors and pads, and adhesive residue, all fused together by heat every time you slow down. Over time, this mixture bakes onto the wheel surface and becomes increasingly difficult to remove with soap and water alone.
Understanding what you are actually dealing with changes how you approach the job.
What brake dust is and why it bonds to your wheels
Modern brake pads are engineered to generate tremendous stopping friction. That friction produces fine metallic particles that become airborne and land on the closest surface: your wheels. At highway speeds, those particles hit the wheel while it is still hot from braking, which causes them to embed into the clear coat or bare metal rather than sitting loosely on top.
Performance vehicles and trucks with heavy-duty brakes generate more dust because they use more aggressive pad compounds. But even a daily driver accumulates a noticeable layer within a week or two if the wheels go unwashed.
The longer brake dust sits, the more the iron particles in it oxidize and form a chemical bond with the wheel surface. That is what people mean by "baked on brake dust." It is not just physically stuck; it is partially corroding into the finish. Left too long, it can etch clear coat, stain polished aluminum, and cause pitting on chrome.
Choosing the right product for the job
Not every wheel cleaning product is appropriate for every wheel finish. Getting this wrong can cause permanent damage, so it is worth taking thirty seconds to identify what type of wheels you have before you buy anything.
| Buildup level | Wheel finish | Best approach |
|---|---|---|
| Light (weekly wash) | Any | pH-neutral wheel cleaner + wash mitt |
| Moderate (2-4 weeks) | Clear-coated, painted | pH-neutral cleaner with dwell time |
| Heavy / baked on | Clear-coated, painted | Iron remover (pH-neutral) |
| Heavy / baked on | Bare polished aluminum | Iron remover, then polish |
| Heavy / baked on | Chrome | Iron remover only, no acids |
| Any | Anodized or matte | pH-neutral only, no iron remover on bare matte |
pH-neutral wheel cleaners are safe for every finish. They work by lifting loose dust and surface grime. Most will not touch true baked-on buildup on their own.
Iron removers (also called fallout removers or iron decontaminants) are a different class of product. They contain chemicals that react with ferrous metal particles and turn them into a water-soluble compound you can rinse away. You will see the product turn purple or dark red as it works. These are the correct tool for brake dust removal when regular washing leaves a rough, grainy texture on the wheel surface after drying.
What you should avoid: acidic wheel cleaners sold as "heavy duty" or "industrial strength." These work fast, but on clear-coated, painted, or chrome wheels they can strip the finish or cause oxidation. They have a place on bare uncoated aluminum, but only when the owner knows exactly what they have and accepts the risk. For most people, a quality iron remover does the job without that risk.
How to remove brake dust step by step
Before you start, let the wheels cool completely. Applying any chemical cleaner to a hot wheel causes it to flash-dry before it can work, and on some finishes it leaves staining you cannot reverse.
-
Rinse the wheel first. Use a hose or pressure washer to knock off loose dust and road grime. Work from top to bottom so debris does not recirculate. Do the wheel wells and barrels at this stage too, before moving on to chemical cleaning.
-
Apply iron remover to a dry or damp wheel. Spray it generously over the face of the wheel, the spokes, and into the barrel if you can reach. Let it dwell for the time specified on the label, typically 3 to 5 minutes. You will see the color change begin within a minute or two on wheels with significant buildup.
-
Agitate with a wheel brush. A soft-bristle wheel brush lets you work the product into spoke gaps and around the lug holes where dust accumulates the most. Use a separate, smaller detail brush for tight areas. Do not scrub aggressively; the chemical is doing the actual work. The brush just helps the product reach the surface and loosens what has already been broken down.
-
Rinse thoroughly. Use a strong stream of water to flush the chemical and the dissolved fallout completely off the wheel. Leftover iron remover sitting on a finish is not a problem if you rinse promptly, but do not let it dry on the surface.
-
Follow with a pH-neutral wash. Now that the baked-on contamination is gone, wash the wheel normally with a dedicated wheel and rim cleaner and a clean mitt. This removes any remaining residue and preps the surface for protection.
-
Dry completely. A wheel that goes back on the road wet invites new contamination to stick immediately. Use a clean microfiber towel and get into the barrel as much as you can.
For light dust that has not had time to bake on, steps 1, 5, and 6 are often all you need. Add the iron remover step when you feel roughness on the wheel surface after rinsing, or when washing alone is not restoring the finish to its original color.
Protecting wheels after cleaning
Clean wheels stay cleaner longer when they have a barrier between the finish and the incoming dust. A ceramic coating or a dedicated wheel sealant bonds to the surface and makes brake dust removal much easier at the next wash because the particles cannot embed as deeply.
Spray wax works in a pinch but does not last long given the heat wheels generate. A purpose-made wheel sealant or a wax with high-temperature tolerance is a better investment. Apply it after the wheels are clean and dry, let it cure as directed, and then follow with tire dressing for a finished look.
Reapply the sealant every few months, or whenever water stops beading on the wheel surface. That loss of beading is the clearest sign the protection has worn off.
FAQ
How often should I remove brake dust from my wheels? Weekly washing prevents buildup from bonding. If you drive in stop-and-go traffic or have high-performance brakes, every four to five days is more realistic. Once you see roughness when you run a finger over a clean, wet wheel, it is time for an iron remover treatment rather than just a wash.
Will iron remover damage my wheels? Quality iron removers are pH-neutral and safe for clear-coated, painted, and chrome finishes. They are not appropriate for raw uncoated matte finishes or some specialty anodized surfaces. If you are unsure, test a small area first and check the product label against your wheel type.
Can I use household cleaners like dish soap or vinegar to remove brake dust? Dish soap strips wax and sealant but does little for baked-on brake dust. Vinegar and other acids can etch chrome and clear coat. Neither is a substitute for a proper iron remover. They are not the right tool.
The iron remover is not turning purple. Is it working? The color change reaction requires ferrous metal particles to be present. If you see little or no color change on a heavily contaminated wheel, the product may need more dwell time, or the buildup may be too thick for the chemical to penetrate without agitation. Apply, let it sit, scrub, then reapply.
How do I remove brake dust from inside the barrel without removing the wheel? A long-handled detail brush with a flexible head lets you reach most of the barrel with the wheel on the car. Spray the iron remover in through the spokes, angle the brush to agitate the inner barrel surfaces, and rinse from the front face outward. You will not get full coverage without pulling the wheel, but you can address the visible accumulation efficiently.