Wheels & Tires
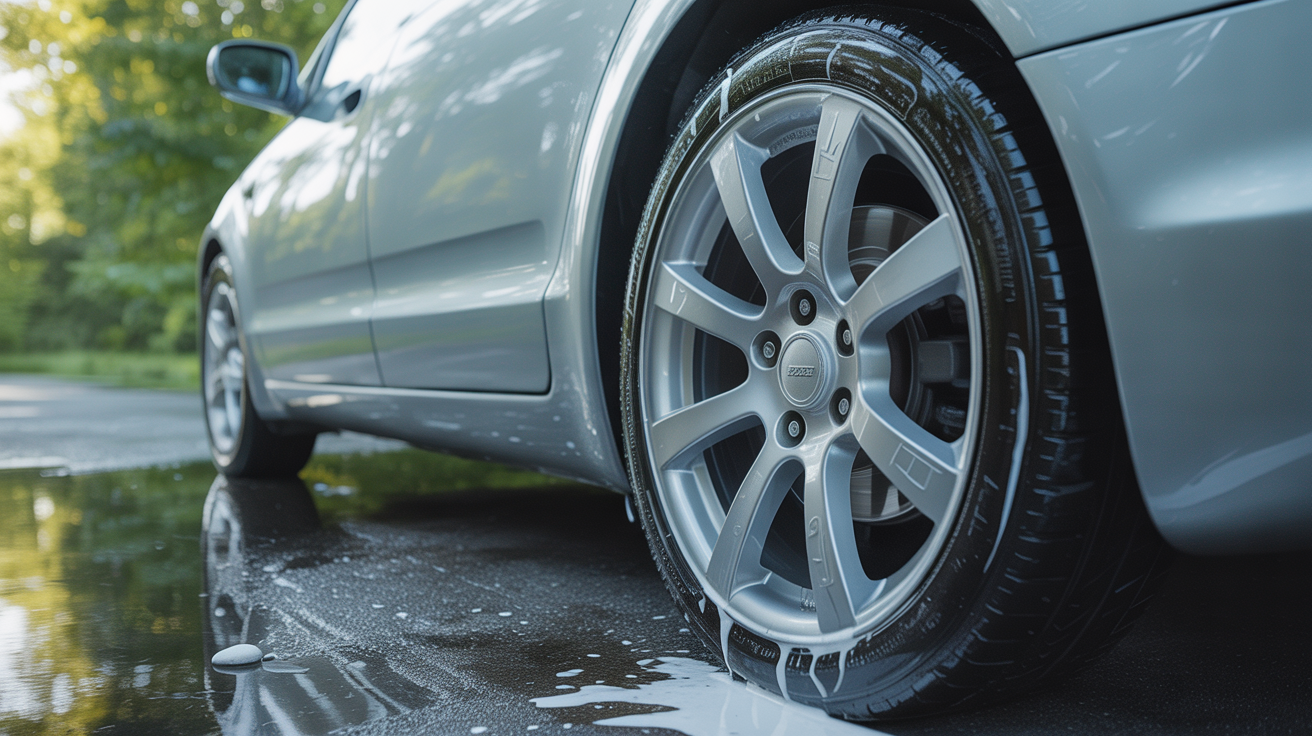
How to Clean Car Wheels and Rims
Learn how to clean wheels and rims properly, match cleaners to your finish, and protect them with a sealant. Step-by-step guide for every wheel type.
Wheels take a beating that the rest of the car mostly avoids. Every time you brake, iron particles from your rotors embed themselves into the finish. Road grime, tar, and road salt pack into the barrel. Ignore it long enough and what looked like surface dirt turns into etching you cannot polish out. Regular wheel cleaning is maintenance, not vanity.
This guide walks through the full process, from choosing the right cleaner for your specific finish to sealing the metal against future contamination.
Do wheels before the paint
Always clean wheels first. The reasoning is simple: wheel cleaning is messy. Rinse water carries iron fallout, brake dust slurry, and cleaner residue off the wheel and onto the lower panels. If you wash the car first, you are undoing your own work. Clean all four wheels, let them dry, then move to the paint.
Park on a cool surface out of direct sun. Hot wheels dry cleaners before you can agitate them properly, and some acid-based rim cleaners can etch if they sit too long.
Know your wheel finish before you touch the cleaner
Using the wrong cleaner is the most common mistake people make with wheel cleaning. Acid-based wheel cleaners dissolve brake dust quickly, but they can pit bare aluminum, strip lacquer, and permanently damage certain coatings. The chart below maps finish types to safe choices.
| Finish | Safe cleaner | Avoid |
|---|---|---|
| Clear-coated alloy | pH-neutral or mild alkaline | Strong acid |
| Painted alloy | pH-neutral | Acid and high-alkaline |
| Polished aluminum | pH-neutral only | Any acid; never |
| Chrome | pH-neutral or mild alkaline | Acid will pit chrome |
| Powder-coated | pH-neutral | Acid can discolor coating |
| Bare/uncoated aluminum | Diluted acid (carefully) | Concentrated acid; long dwell |
| Anodized aluminum | pH-neutral only | Acid strips anodizing |
If you are not certain what finish your wheels have, use a pH-neutral cleaner. It is slower to cut through heavy buildup, but it is safe on every finish listed above. The only situation where an acid-based product is appropriate is uncoated or lightly oxidized aluminum, and even then, keep dwell time short and rinse thoroughly.
For serious brake dust contamination on safe finishes, a dedicated iron remover (discussed below) is far safer than reaching for an acid cleaner.
Gather the right brushes
Rim cleaning with a single sponge does not work. You need dedicated brushes for different geometry, and they should never touch the paint.
- Barrel brush: A soft, long-bristle brush (often called a "wheel woolie") that reaches behind the spokes and into the barrel. Microfiber-tipped versions shed less debris into the brake caliper area.
- Spoke brush: A medium-stiffness detail brush for getting between spokes and around lug nut recesses.
- Face brush: A soft-bristle brush for the outer face where scratches are most visible.
- Lug nut brush: A small stiff-bristle brush or old toothbrush for the threads and hex recesses.
Keep wheel brushes separate from paint brushes. Label them or use a different color. Cross-contaminating brake dust and iron particles into your paint wash bucket causes the swirl marks that detailers spend hours correcting.
Step-by-step wheel cleaning process
Step 1: Rinse thoroughly
Before applying any product, blast each wheel with a hose or pressure washer. This removes loose dirt and cools the surface. Work the water into the barrel and behind the spokes. A pressure washer set to a moderate pressure (under 1,800 psi) works well here; too much pressure aimed at the valve stem or wheel weights can cause problems.
Step 2: Apply wheel cleaner
Spray your chosen wheel cleaner onto the face, spokes, barrel, and the inner lip. Most spray-on cleaners ask for 30 to 60 seconds of dwell time. Do not let the product dry on the wheel. If you are working in warm weather, clean one wheel at a time.
For a car with significant brake dust buildup, you may need to apply cleaner twice, or follow up with an iron fallout remover.
Step 3: Agitate the face and spokes
Use your spoke brush to work into the gaps between spokes and around the lug nut seats. Scrub the outer face with your face brush. Apply moderate pressure; you want to break the bond between the contamination and the finish, not grind grit across the surface.
Rinse your brush frequently in a dedicated bucket of clean water. Letting a brush load up with grime and then continuing to scrub spreads contamination rather than removing it.
Step 4: Clean the barrel
This is where most casual wheel cleaning falls short. Slip your barrel brush through the spoke opening and work it around the inside of the rim. The barrel collects road grime, tar spray, and iron deposits that you cannot see from outside but that cause long-term corrosion.
For a detailed approach to the barrel and the area behind the wheel, see our guide on how to clean wheel wells and barrels. That guide covers removing the wheel for a true deep clean when surface access is not enough.
Step 5: Apply an iron fallout remover (when needed)
Standard wheel cleaners dissolve water-soluble grime. Iron particles from brake dust are not water-soluble, and they bond chemically to metal surfaces. An iron fallout remover, sometimes labeled "iron dissolve" or "ferrous decontamination spray," changes the game.
Spray it onto a rinsed, damp wheel. Within 30 to 60 seconds you will see purple or reddish streaks running down the face as the product reacts with iron deposits and turns them water-soluble. Agitate lightly, then rinse.
Use iron removers after your standard cleaner, not as a replacement for it. They target a specific type of contamination; they do not cut grease or road film.
Step 6: Final rinse
Rinse each wheel from the top down. Get water behind the spokes and into the barrel. Make sure no cleaner residue remains on the face or in any recesses. Residue from some cleaners, left to dry and bake in the sun, can leave white haze or, in the case of acid products, light etching.
Step 7: Dry completely
A wet wheel attracts dust and water spots. Use a dedicated microfiber towel for wheels (not the same towels you use on paint), or use a leaf blower or air compressor to blow water out of the barrel, lug nut holes, and between the spokes. Getting the barrel dry matters if you are applying a sealant, since moisture trapped under a coating accelerates corrosion.
Step 8: Seal the finish
A clean wheel is the right time to apply a protectant. Wheel sealants or waxes create a barrier between the finish and brake dust, iron particles, and road contamination. At the next cleaning, the grime releases much more easily.
Apply a thin layer of wheel-specific wax or sealant to the face and spokes with an applicator pad. Let it haze, buff off, and do not apply to the tire sidewall. Some detailers also apply a spray sealant to the barrel, which helps with corrosion prevention. Once the wheel is protected, consider applying tire shine to the sidewall for a finished look.
Maintenance cleaning between full details
You do not need to go through every step above every week. Between thorough sessions, a spray-on pH-neutral cleaner and a quick rinse knocks back fresh brake dust before it bonds hard. A quick pass with a barrel brush takes 90 seconds per wheel. That kind of habit keeps the full wheel cleaning session from becoming a two-hour project.
FAQ
How often should I clean my wheels? Every two weeks is a reasonable baseline for most drivers. If you drive in heavy stop-and-go traffic, your brake pads wear faster and deposit more iron on the wheels, so weekly cleaning may make sense. Track days or any event involving hard braking calls for a full decontamination wash afterward.
Can I use dish soap to clean car rims? Dish soap strips wax and sealant from the finish. It works in an emergency, but it leaves the wheel completely unprotected and can dull some clear-coat finishes over time. A bottle of pH-neutral wheel cleaner costs about the same as dish soap and does less damage.
Is it safe to pressure wash wheels? At moderate pressure, yes. Stay under 1,800 psi and keep the nozzle moving. Avoid directing a focused stream at the valve stem, wheel weights, or any area where water could force its way into wheel bearings. A fan-tip nozzle is safer than a zero-degree pinpoint tip.
Why does my wheel cleaner turn purple? Some wheel cleaners include an iron-reactive indicator dye. Purple or reddish streaking means the product is reacting with iron deposits from brake dust, which is exactly what it is supposed to do. It is not damaging the wheel; it is showing you where contamination was sitting.
Can I clean wheels while they are still warm? Warm is fine; hot is not. A wheel that just came off a highway run is too hot for any chemical cleaner. The product flashes dry before it can work, concentrates on the surface, and may etch or stain the finish. Let them cool for 20 to 30 minutes before you start.