Paint Care & Polishing
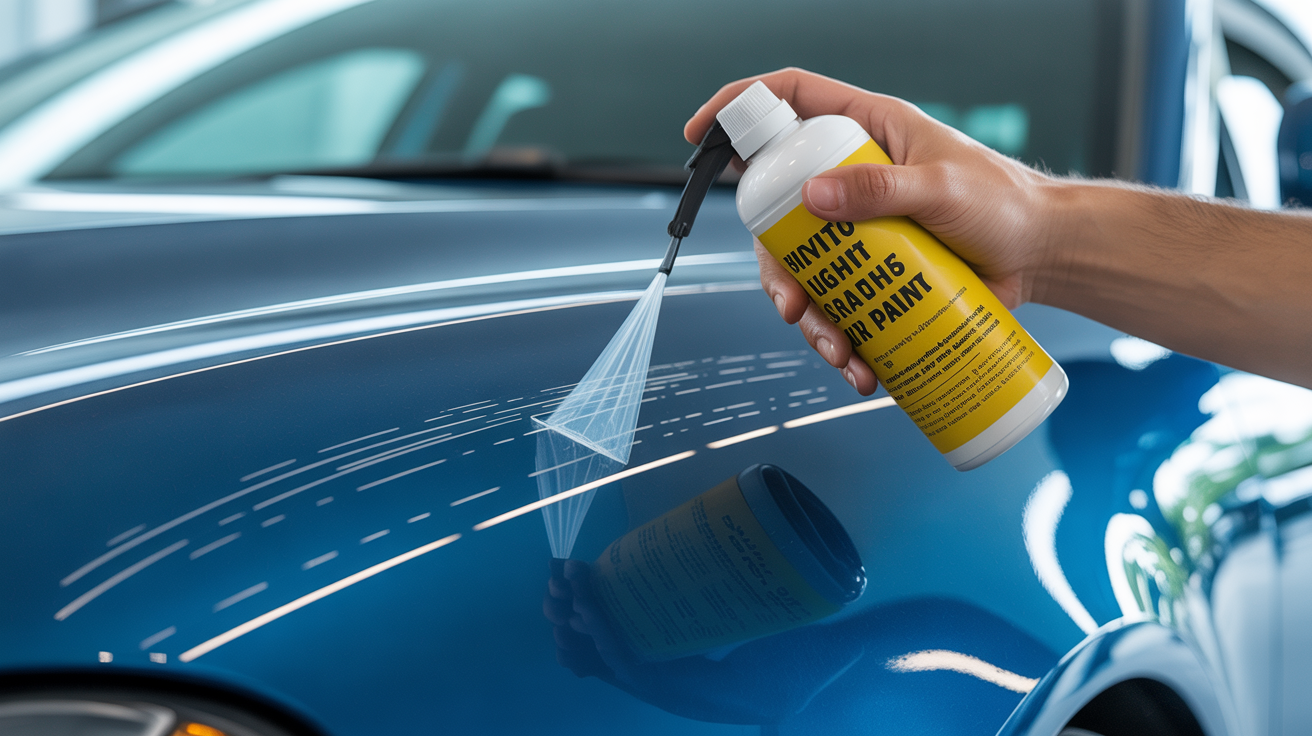
How to Fix Light Scratches in Car Paint
Learn how to fix car scratches at home. This guide covers scratch depth diagnosis, light scratch repair with polish, and when to use touch-up paint.
Most light scratches in car paint don't go through to the metal or even the color layer. They live in the clear coat on top, which means you can fix them at home with polish and some patience. The key is figuring out how deep the scratch actually is before you reach for anything abrasive.
How to Tell If a Scratch Is Light Enough to Polish Out
Car paint has several layers stacked on top of each other: primer, base coat (the color), and a clear coat sitting over everything. Light scratches only cut into the clear coat. Deeper ones reach the base coat, and the worst go all the way to primer or bare metal.
A quick test before you buy anything: run your fingernail across the scratch. If your nail glides over it without catching, the scratch is almost certainly in the clear coat only and polish can take care of it. If your nail catches a defined groove, the scratch has broken through the clear coat and you're looking at a more involved repair.
Also look at the scratch under direct sunlight or with a flashlight held at a low angle. Clear-coat scratches appear white or silver against the paint color but carry no color of their own. If you can see a color that's different from your car's finish (usually a gray or white primer underneath, or shiny bare metal), that scratch goes deeper.
Understanding the Clear Coat Layer
The clear coat on most modern cars is 1.5 to 2.5 mils thick, which works out to roughly 0.04 to 0.06 mm. Scratch removal polish works by using a fine abrasive to level the clear coat around the scratch, not fill it in. You're reducing the surrounding clear coat so it meets the depth of the scratch, then refining that area until the surface is smooth and glossy again.
Because of this, cars with thin clear coats or paint that has already been polished many times need extra caution. Aggressive polishing on an already-thin clear coat can cut through to the base coat.
What You'll Need
You don't need a full detailing setup for light scratch removal. Here's what the job actually calls for:
| Item | Purpose |
|---|---|
| Car wash soap and a microfiber mitt | Clean the panel before starting |
| Isopropyl alcohol (IPA), 70-99% | Strip any wax, oil, or polish residue |
| Scratch removal polish or light cutting compound | The abrasive that levels the clear coat |
| 2-3 foam or microfiber applicator pads | Apply and work the polish |
| 4-6 clean microfiber towels | Buff off residue without adding new marks |
| Masking tape (optional) | Protect trim or panel edges |
| A dual-action polisher (optional) | Faster and more consistent than hand work |
For light clear-coat scratches, a scratch removal polish works well by hand. These products sit between a paint cleaner and a light compound on the abrasiveness scale. If you already own a machine polisher, a light cutting pad with a compound will get the same result faster and with less arm fatigue.
The Scratch Removal Process, Step by Step
Work in shade or in a garage if you can. Direct sun heats the paint surface and causes polish to dry before it finishes working, which means you're wiping off too early and not getting the benefit of the abrasive.
Step 1: Wash and Prep the Area
Wash the scratched panel with car shampoo and rinse it thoroughly. Dry it with a clean microfiber towel. Then wipe the specific scratch area with a small amount of IPA on a fresh microfiber cloth. This removes any wax, sealant, or oils that would block the abrasive from making contact with the clear coat. The paint should feel slightly dry and squeaky after the IPA wipe, not slick.
Step 2: Apply Polish by Hand
Put a small amount of scratch removal polish on a foam or microfiber applicator pad. Start conservatively: a pea-sized amount is enough for a 6-inch (15 cm) working area. Spread it lightly across the scratch and a couple of inches in each direction around it.
Work the polish with moderate, consistent pressure using overlapping passes. Cross-hatching helps: go north to south for about 30 seconds, then east to west for another 30 seconds. As you work, the product will transition from slightly creamy to a thin, nearly clear film.
After 60 to 90 seconds of working, buff off the residue with a clean microfiber towel. Use light pressure and keep flipping to a clean section of the towel. Then check the result under a light at a low angle.
If the scratch is less visible but still there, repeat the process. Two or three passes are often needed. If you're not making meaningful progress after three passes, consider a slightly more aggressive compound rather than continuing with the same product.
Step 3: Follow With a Finishing Polish
After a scratch removal compound, the treated area often looks slightly duller than the surrounding paint. This is normal. Run a finishing or glazing polish over the area with a clean, soft applicator pad. Finishing polishes have much finer abrasives and are designed to restore gloss rather than cut. This step takes only a few minutes but makes a real difference to how the repair looks in daylight.
Using a Machine Polisher
A dual-action polisher can do this job in about half the time. The oscillating pad distributes pressure more evenly than hand work, which reduces the risk of cutting through the clear coat in one spot. Set the speed to 4 or 5 out of 6 for the cutting pass, use a light to medium foam cutting pad, and work in roughly 18x18-inch (45x45 cm) sections. Drop to speed 2-3 for the finishing polish pass.
When Polish Alone Won't Fix the Scratch
If you've done two or three polishing sessions and the scratch is still clearly visible, run your fingernail across it again. A scratch that still catches your nail at this point has broken through the clear coat and polish cannot make it disappear. Polish levels clear coat; it can't bridge a gap that goes down to the color layer.
Scratches that have reached the base coat need touch-up paint. The repair sequence: clean the area thoroughly, apply a small amount of color-matched touch-up paint to fill the scratch (just enough to level it, not a flood), let it cure for 48 to 72 hours, then level and blend with a compound and finishing polish. Knowing the difference between polishing and compounding matters at this stage because you need an abrasive aggressive enough to level the raised edge of the dried touch-up paint without creating new marks in the surrounding clear coat.
Scratches that reach primer or bare metal need attention quickly. Bare metal can start to show surface rust within a few days depending on humidity and climate, even if the scratch looks small from a distance.
What About Scratch Pens and Fillers?
Scratch pens can work for small, isolated base coat scratches if the color match is accurate. Most factory-matched touch-up pens apply more paint than the scratch actually needs, so the paint sits high rather than blending smoothly. Plan on leveling and polishing after the paint has fully cured. They work best for chips and short scratches, not long runs across a panel.
Scratch filler products (often marketed as clear liquids or topcoats) can mask very fine scratches temporarily but don't hold up through regular washing.
Protecting the Repaired Area
Once the scratch is gone and the paint looks good, protect that section with a layer of wax, paint sealant, or a spray ceramic topper. Polishing strips any previous protection from the clear coat, so leaving it bare shortens how long the repair holds. A hand-applied paste wax takes about 20 minutes.
If swirl marks show up in the polished area, those are a different problem from scratches. They appear as fine circular marks visible in direct sunlight. The guide to removing swirl marks from car paint covers that process specifically.
Frequently Asked Questions
Will toothpaste actually remove a car scratch?
Toothpaste contains mild abrasives and can reduce very fine marks in clear coat, but the results are inconsistent. A proper scratch removal polish has a known abrasive grade and is designed to cut clear coat predictably. Toothpaste is worth trying only if you have nothing else available and the scratch is extremely shallow, more of a scuff than a scratch.
How long does the scratch removal process take?
For a small clear-coat scratch on a single panel, the full process including washing, two polishing passes, a finishing polish, and protection runs about 60 to 90 minutes by hand. A machine polisher cuts that to roughly 30-45 minutes. Multiple scratches or larger areas will add time accordingly.
Can I do this in direct sunlight?
Technically yes, but it's harder. Sun heats the paint and causes polish to dry before it finishes working. Shade, early morning light, or an indoor space gives you more control and better results.
Do I need a machine polisher for light scratch removal?
No. Hand polishing with a foam applicator works well for most clear-coat scratches. A machine polisher makes the job faster and more consistent, and is useful if you plan to detail regularly, but it's not required for a single scratch.
How do I know if I've polished too aggressively?
The main sign is a dull patch or thin spot that doesn't respond to finishing polish. In direct light, the base coat color may look slightly different in that area. If that happens, stop. Thin spots can sometimes be managed with a coating or paint protection film, but severe burn-through needs professional attention. Starting with a finer product and building up is the right way to avoid it.