Paint Care & Polishing
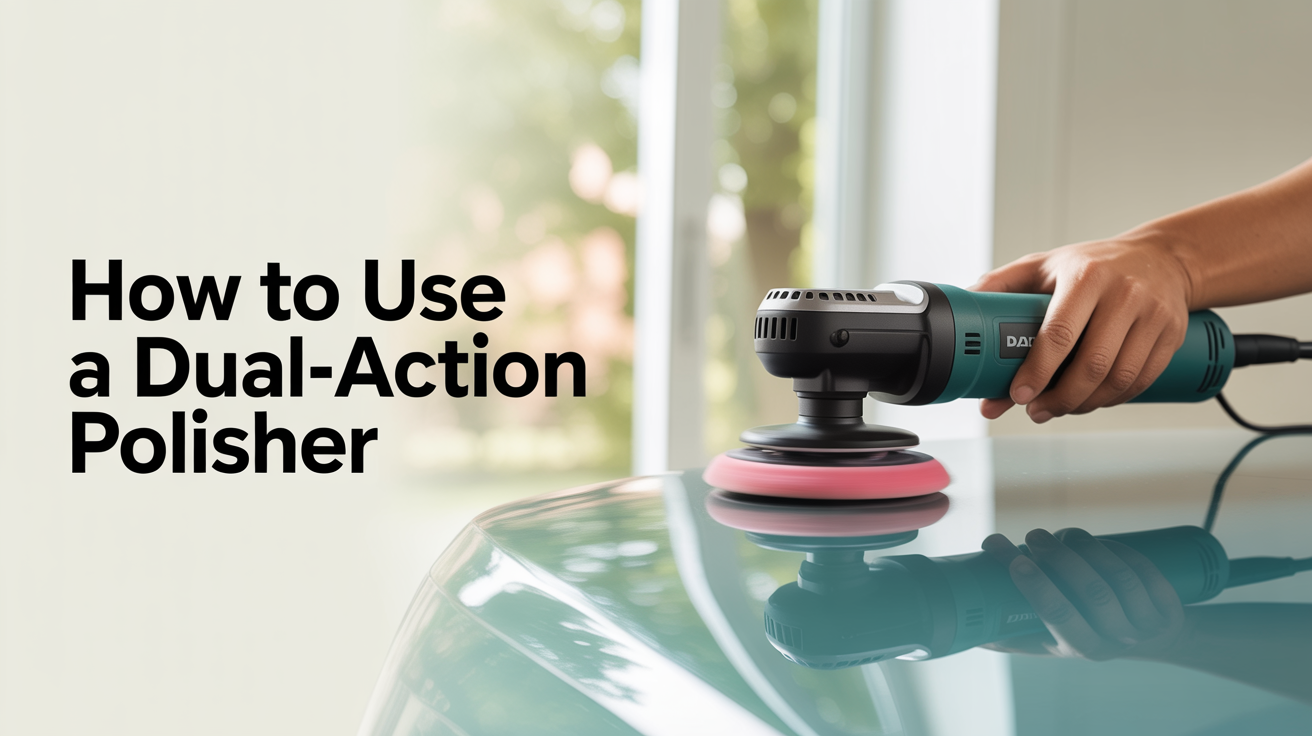
How to Use a Dual-Action Polisher
Learn how to use a DA polisher safely and effectively — pad selection, priming, four-section passes, speed settings, and technique tips.
A dual-action polisher is the most forgiving machine you can put on a car. Unlike a rotary, which spins on a fixed axis and generates serious heat fast, a DA combines rotation with an eccentric orbit. That offset motion makes it very hard to burn through clear coat, which is why it is the default recommendation for anyone getting into machine polishing for the first time.
That said, "forgiving" does not mean "foolproof." Wrong pad, wrong speed, wrong pressure, and you will still waste product, waste time, or leave the paint worse than you found it. This guide walks through everything from setup to final wipe so you know exactly what you are doing before the machine touches the car.
Why a DA polisher is beginner-safe
The eccentric orbit interrupts the continuous friction that causes rotary burn-through. If you hold a DA in one spot too long, the orbit slows and the machine loses cutting ability rather than building heat uncontrollably. The clear coat has a chance to recover.
That physics also means DA polishers are slower than rotaries at aggressive correction. For most enthusiasts working on daily drivers with light swirls or oxidation, that trade-off is fine. For deep scratches that need heavy cutting, you either need more passes or a more abrasive compound. See polishing vs compounding: the difference if you are not sure which product to reach for first.
What you need before you start
- Dual-action polisher (5- or 6-inch backing plate is most common)
- Foam or microfiber pad matched to your product type
- Polish or compound
- Tape for trim and rubber seals
- Two or three clean microfiber towels
- Isopropyl alcohol (IPA) spray, 70% or higher
Wash and decontaminate the car fully before any polishing. Clay if needed. Polish over dirt and you are grinding abrasives into paint, not refining it.
Pad selection and priming
Pad choice matters more than most beginners expect. A soft finishing pad with a light polish removes minor hazing. A medium cutting foam with a compound removes swirl marks and light scratches. A heavy cutting pad with an aggressive compound handles oxidation and deeper defects.
Once you pick the right pad, prime it before the first section. Apply four or five small dots of product directly to the pad face, then spread it across the surface with your finger or by rubbing the pad lightly on the paint before turning the machine on. An unprimed pad throws product off the edges, wastes material, and leaves an uneven first pass.
Tape off trim and rubber
Compound and polish work into textured plastic trim fast and leave white residue that is genuinely annoying to remove. Run a strip of painter's tape along any rubber seals, plastic trim pieces, and panel gaps near where you are working. It takes two minutes and saves twenty.
The four-section pass method
Divide each panel into sections roughly 18 to 24 inches square. Working smaller sections gives you more control and ensures the product does not dry before you finish. On a full hood, that usually means four sections. On a door, two.
For each section:
- Apply product to the pad (re-prime if you changed pads; add a small refresh dot between sections).
- Place the pad flat on the paint before switching the machine on.
- Set speed to 2 or 3 and spread the product with slow, overlapping strokes.
- Increase speed to your working setting and begin the polishing pass.
- Work in slow, overlapping rows — left to right across, then top to bottom. Each pass should overlap the previous by about 50%.
- Drop the speed back to 2 and make a final slow pass to work in residue.
- Turn the machine off while the pad is still on the paint, then lift.
- Wipe residue with a clean microfiber, folded to a fresh face for each section.
Speed and pressure reference
| Step | Speed Setting | Passes |
|---|---|---|
| Spread product | 1-2 | 1 slow spread pass |
| Working pass | 4-5 (light polish) / 5-6 (compound) | 3-4 overlapping passes |
| Finishing pass | 2-3 | 1 slow finishing pass |
Pressure: let the machine's weight do most of the work. Apply light downward pressure, roughly 10-15 lbs, enough to feel the pad compress slightly against the paint. Leaning hard into the machine kills the orbit, reduces correction, and generates heat.
Arm speed: move the machine at about one inch per second on the working pass. Too fast and you are not giving the abrasives time to work. Too slow and the polish breaks down and dries before you finish the section.
Work in shade on cool paint
Heat is the enemy during polishing. Paint in direct sun gets hot enough to cause the polish to flash (dry instantly on contact), which makes it harder to work and harder to remove. Park in a garage or a shaded area. If you must work outside, do it in the morning or evening.
Touch the panel before you start. If it is warm to the touch, let it cool. In hot weather, mist the panel with water and let it evaporate before applying product.
Do a test spot first
Before you commit to a full panel, do a 12-inch test section. Work the product, wipe it off, and inspect under a bright light or detailing lamp. If you see improvement, carry on with those settings. If not, step up to a more aggressive pad or product. If you see marring or new scratches, your pad is too aggressive or dirty.
A test spot is especially important on older vehicles or repainted panels where clear coat thickness is unknown. This is the same logic that applies in what is paint correction: you remove a small amount of clear coat with each pass, and that resource is finite.
Wiping residue
Use a clean, plush microfiber towel. Fold it into quarters so you have eight clean faces to rotate through. Wipe with light, straight strokes. Do not scrub. If the residue is dry and difficult to remove, a light mist of IPA solution softens it fast.
Inspect the wiped section under a light before moving on. Rotate the towel to a clean face each time you move to a new section.
FAQ
Can I use a DA polisher on any paint color? Yes, though defects are most visible on dark colors (black, dark grey, dark blue), which is also where results are most dramatic. The technique is the same regardless of color; dark paint just demands more care at the inspection step because it shows every swirl.
How many passes does it take to remove swirl marks? It depends on the severity of the defects, the product, and the pad. Light swirls on soft paint may clear in two to three working passes. Heavier swirls might need four to six, or a more aggressive combination. Always check between passes rather than assuming more passes are automatically better.
Do I need to polish before waxing or applying a ceramic coating? Not always. If the paint already looks good under strong light, you can skip straight to protection. But paint correction — even a light polish — improves the surface that the wax or coating bonds to. For ceramic coatings in particular, any defects are locked in under the coating, so it is worth addressing them first.
My machine is vibrating a lot. Is that normal? Some vibration is normal on the working pass at higher speeds. Excessive vibration usually means the backing plate is off-balance, the pad is mounted unevenly, or there is product buildup throwing the pad off-center. Stop, check the pad seating, and clean or replace the pad if it is saturated.
How often should I clean the pad? Every one to two sections on a compound pass, more often if the pad looks loaded with product or paint residue. Use a pad cleaning brush or pad conditioning spray while the machine is running at low speed. A dirty, saturated pad redistributes old product instead of cutting and leaves streaks.