Paint Care & Polishing
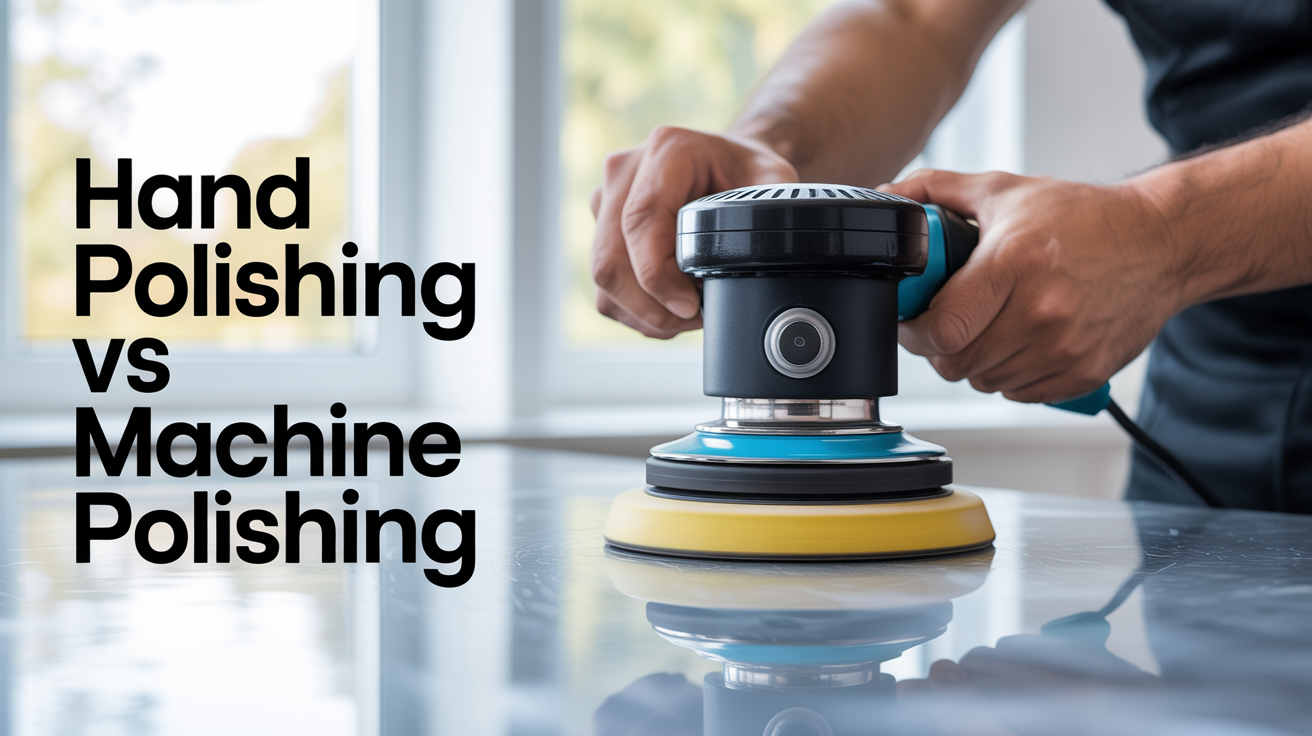
Hand Polishing vs Machine Polishing
Hand vs machine polishing compared: which actually removes swirl marks, what each costs, and when a DA polisher beats doing it by hand.
Hand polishing can refresh gloss and hide light haziness, but it cannot remove swirl marks or scratches the way a machine can. If correction is your goal, a machine polisher wins. If you want a quick shine boost on paint that's already in decent shape, polishing by hand is a perfectly reasonable option.
What Each Method Actually Does to Paint
Polish works by using micro-abrasives to shave down the top layer of the clear coat, leveling scratches and swirl marks so they stop scattering light. How deep that leveling goes depends almost entirely on the amount of consistent pressure and friction the applicator generates.
Hand Polishing
When you polish by hand using a foam applicator pad or microfiber cloth, you're generating maybe 5 to 10 lbs (2.3 to 4.5 kg) of pressure over a small area, moving at whatever pace your arm can sustain. That's enough to spread product evenly and work in lubricants that add short-term gloss, but it's rarely enough to cut through more than the shallowest surface contamination.
The paint looks better after hand polishing mostly because you've removed surface grime and oxidation that was dulling the finish, the oils or fillers in many hand polishes temporarily fill fine scratches, and light reflection improves when the surface is clean and even at a micro level.
That improvement is real, but it's temporary. Once the fillers wash out (usually after 3 to 8 washes), the underlying scratches reappear.
Machine Polishing
A machine polisher, whether a dual-action (DA) or rotary, generates far more consistent pressure and surface speed than a human arm. A DA running at 5,000 to 6,000 OPM (orbits per minute) on a 5-inch (127 mm) pad covers the paint at a pace and friction level that actually abrades the clear coat, removing the scratch or swirl rather than temporarily filling it.
This is a mechanical difference, not just a question of effort. You could polish by hand for an hour on a single panel and a DA polisher would still outperform you in 5 to 10 minutes, because the machine maintains constant, even friction across the entire pad face throughout the pass.
Comparing Results: What Each Method Can Fix
| Problem | Hand Polish | Machine Polish |
|---|---|---|
| Light haze or dullness | Yes | Yes |
| Surface contamination marks | Partially | Yes |
| Light swirl marks | Fillers only (temporary) | Yes, genuine removal |
| Moderate swirl marks | No | Yes, with correct cut level |
| Deep scratches through clear coat | No | No (needs respray) |
| Water spot etching | No | Yes, moderate spots |
| Bird drop etching | No | Yes, mild cases |
The table makes it clear that hand polishing is not a paint correction method. It's a cosmetic refresh. Machine polishing with an abrasive compound or cutting polish is how you actually remove swirl marks from car paint rather than just hiding them for a few weeks.
Cost and What You Need to Get Started
Hand Polishing Costs
Starting out with hand polishing is inexpensive:
- A quality hand polish: $15 to $30
- Foam or microfiber applicator pads: $5 to $10
- Microfiber towels for buffing off residue: $10 to $20
Total startup cost: around $30 to $60. You can do it in a driveway with no power required.
Machine Polishing Costs
The jump to machine polishing carries a higher upfront investment:
- A decent DA polisher (6 mm throw): $80 to $200
- Backing plate and pads (3 to 4 pads minimum): $30 to $60
- Polishes at different cut levels: $20 to $50
Total startup: $130 to $310, but that kit lasts for years and works across multiple vehicles. On a per-car basis, the math usually favors the machine fairly quickly if you detail more than once or twice a year.
Skill Level and Learning Curve
Hand Polishing Is Almost Foolproof
The technique is simple: apply a pea-sized amount of product to your pad, spread it thinly across a 2-by-2-foot (60 x 60 cm) section, work it in with medium pressure using overlapping circular or back-and-forth strokes, and buff off the residue with a clean microfiber towel.
The main risks are using too much product (wastes polish and leaves residue), polishing in direct sunlight so the product dries too fast, and accidentally scratching the paint during removal with a contaminated cloth. None of these mistakes are catastrophic. Hand polishing is a good starting point for anyone who hasn't done this before.
Machine Polishing Takes a Session to Learn
A DA polisher is far more forgiving than a rotary, but it does have a learning curve. You need to understand a few things before you start:
Speed settings. Most DAs have 3 to 6 speed settings. Lower speeds (1 to 2) work for spreading product and working over delicate areas. Mid-range speeds (3 to 4) handle standard paint correction. Higher speeds (5 to 6) are for heavier cutting situations.
Pad pressure. Too light and the pad glazes without cutting. Too heavy and you risk burning through thin clear coats, especially near edges and body lines where the paint is thinner.
Pace across the panel. Moving the machine too slowly concentrates heat in one spot. A steady, overlapping pass at roughly 1 to 2 inches per second (2.5 to 5 cm/s) is a good pace on most panels.
Priming the pad. A dry pad can create friction spikes and fling product across the car. Prime new foam pads with a few drops of polish before the first pass.
A DA is genuinely hard to damage paint with, compared to a rotary. If you stay mindful of body lines and edges, the learning curve is manageable in one or two practice sessions. The full technique is covered in our guide on how to use a dual-action polisher.
When to Use Each Method
These two approaches serve different situations, and knowing which fits yours saves time and product.
Use hand polishing when:
- You're maintaining paint that's already in good condition
- You want to add gloss before an event without a full correction session
- You're dealing with a leased car where cutting the clear coat would be wasteful
- You have no access to power
- You're refreshing a small trim piece or isolated area
Use machine polishing when:
- You can see swirl marks, scratches, or water spots in direct sunlight
- You're doing a full detail before applying a ceramic coating or paint sealant
- You want results that last more than a few washes
- You're starting from oxidized or seriously neglected paint
One question that often comes up at this stage is whether you need to polish at all, or whether compounding alone is enough. That depends on paint condition and how you're finishing the job. Understanding the difference between polishing and compounding will help you choose the right products before you start.
A Note on Product Labeling
Some products are labeled as hand polishes; others say they can be used by hand or machine. In practice:
- Most hand polishes have less abrasive content and more fillers. They're formulated for the lower friction levels a human arm produces.
- Machine polishes are calibrated to work at higher pad speeds and consistent pressure. Using a machine polish by hand typically gives poor results because you can't generate enough friction to activate the abrasives properly.
- All-in-one products (AIOs) sit in between. They contain mild abrasives, fillers, and a light sealant, and perform reasonably in both applications.
If a product says "machine application recommended," that's not filler text. The abrasive chemistry is tuned for machine speeds, and you won't get the same correction results by hand regardless of how hard you work.
Frequently Asked Questions
Can I remove swirl marks by polishing hard enough by hand?
Not reliably. Swirl marks are actual scratches in the clear coat, and removing them requires abrading material away down to below the scratch depth. Hand application cannot generate the friction and consistency needed to do that across a whole panel. You'll see some improvement from fillers, but the marks return after a few washes. A DA polisher with a light cutting polish will genuinely remove them.
Is machine polishing safe for newer cars with thinner clear coats?
A DA polisher is safe on modern factory clear coats when you pair the right pad with the right polish and stay careful near edges. Factory clear coats are typically 40 to 50 microns thick. A standard correction pass removes roughly 2 to 4 microns, leaving plenty of material for multiple jobs over the car's life. On older repainted panels, which can be thinner, checking with a paint depth gauge before you start is worth the 10 minutes it takes.
How long does hand polishing improvement actually last?
With a filler-based hand polish (which most are), the gloss boost and scratch concealment typically survive 3 to 8 washes. After that, the paint looks much as it did before. Sealing the paint afterward with a wax or sealant extends the results a bit, but the underlying scratches are still there waiting.
Do I need both methods, or just pick one?
Most home detailers settle into using a DA polisher once or twice a year for real correction and a light hand polish or quick detailer in between for maintenance. The machine does the heavy work; the hand product keeps the finish tidy until the next full session. You don't have to commit to one approach permanently.
What depth of scratch can a DA polisher actually remove?
A dual-action polisher with a cutting compound can typically handle scratches up to about 1,500 to 2,000 grit in coarseness. Marks finer than 2,000 grit usually respond to a finishing polish alone. Scratches coarser than 1,000 grit, where you can feel a catch with your fingernail, have likely broken through the clear coat entirely and need wet sanding or a respray rather than polishing.