Paint Care & Polishing
How to Remove Oxidation From Car Paint
Learn how to remove oxidation from car paint step by step. Identify severity, choose the right compound or polish, and restore a clear, glossy finish at home.
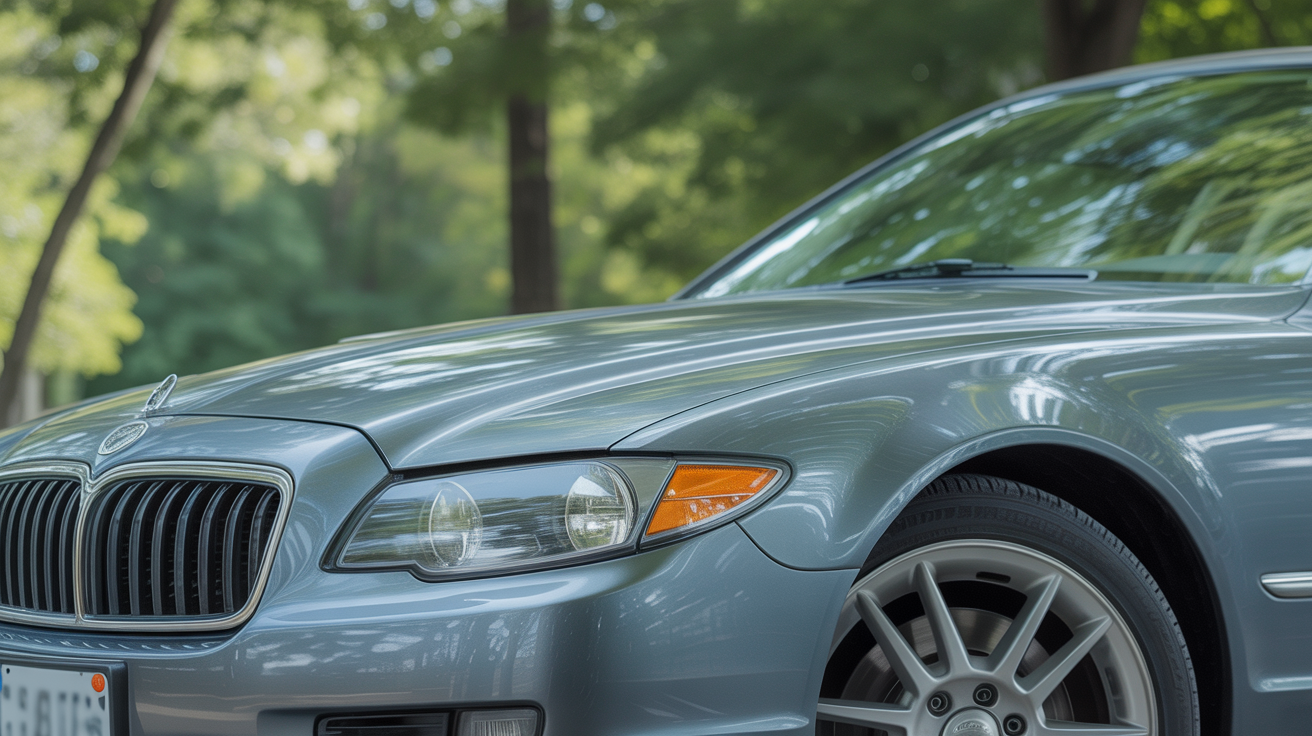
Oxidized paint looks chalky, hazy, or faded rather than just dull. It's a different problem from swirl marks, and fixing it requires more cutting power than a standard polish. The good news is that most oxidation, even moderately heavy cases, can be corrected in a driveway with the right compound and a little patience.
What Oxidation Actually Looks Like
Not all paint problems are oxidation. Swirls are thin scratches in the clear coat that catch light at certain angles. Water spots are mineral deposits sitting on the surface. Oxidation is something else: the paint itself has broken down from prolonged UV exposure, and the top layer has turned cloudy or powdery.
Run your hand across the paint after washing. If it feels rough and chalky, and the color looks bleached or foggy in bright sun, that's oxidation. White and light-colored cars show it most obviously. On darker cars, the finish often looks more flat or hazy than truly white, but the cause is the same.
A quick test: fold a white microfiber cloth and wipe a small patch firmly. If you pick up white or gray residue that isn't just dust, the clear coat is breaking down and you're looking at genuine oxidation rather than surface contamination.
Judging How Far Gone It Is
Severity matters because the correction approach changes significantly depending on how deep the damage goes.
Light Oxidation
The paint looks slightly dull or hazy but still has some gloss underneath. It wipes off easily with a machine polish and a light to medium cutting pad. The color comes back quickly, and you probably won't need to go back over the area more than once or twice.
Moderate Oxidation
The finish looks clearly faded, and there's visible chalking. A polish alone won't cut it; you need a dedicated compound (also called a cutting compound or rubbing compound) with an appropriate cutting pad. Expect to make two or three passes per section before the clarity comes back.
Heavy Oxidation
The paint has lost most of its color depth, there's visible pitting or micro-cracking in the clear coat, and parts of the surface may feel almost powdery. This is the borderline territory. A good compound and a foam or wool cutting pad on a dual-action polisher can still make a real difference, but if the clear coat is cracked through or the color coat has worn through entirely, no amount of polishing will fix it. At that stage, a respray is the only real option.
For most cars that have been neglected rather than destroyed, moderate oxidation is the most common scenario and very fixable at home.
What You'll Need
You don't need a lot of equipment, but the basics matter.
Products:
- A good rubbing or cutting compound for anything beyond light haze. For light oxidation, a one-step polish with mild abrasives may be enough.
- A finishing polish for the follow-up step (compounds cut but leave micro-marring behind; a polish removes it).
- A paint sealant or carnauba wax to protect the freshly cut paint.
Tools:
- A dual-action (DA) polisher. Rotary buffers cut faster but generate heat quickly and take more skill to use safely on clear coat. A DA is the right tool for driveway work.
- Foam cutting pads for the compound step. Finishing pads for the polish step.
- Microfiber applicator pads if you're doing any steps by hand.
- Plenty of clean microfiber towels for product removal.
- Blue painter's tape to mask rubber trim and plastic that you don't want the compound to stain.
Work in shade or on an overcast day. Direct sun heats the panel surface and makes compounds and polishes dry too fast, which both reduces their effectiveness and makes them harder to wipe off cleanly.
Step-by-Step: How to Remove Oxidation From Car Paint
1. Wash and Dry Thoroughly
You're about to abrade the paint with a compound. Any dirt sitting on the surface will turn into a sandpaper effect and add scratches. Wash the car completely, clay bar if you haven't in the past year (clay removes bonded contamination that washing misses), and dry completely before you start.
2. Tape Off Trim
Compound gets into the texture of rubber seals and matte plastic trim and leaves a white residue that's genuinely difficult to remove. A strip of tape takes 10 minutes and saves a lot of cleanup time.
3. Apply Compound and Work Section by Section
Divide the car into sections roughly 24 x 24 inches (60 x 60 cm). Put about four pea-sized drops of compound on the pad, spread it across the section at low speed (speed 1 on most DA machines) to prevent fling, then raise the speed to 4 or 5 and make overlapping passes with moderate pressure.
Two to three passes per section is typical for moderate oxidation. Let the compound work down to a thin, hazy film before wiping with a microfiber. If you wipe too soon you lose cutting time; if you let it dry completely it becomes difficult to remove.
Check your progress after each section. With heavy oxidation you may need another application before moving on. With light oxidation you may see results in a single pass.
Read more about when to use a compound versus a polish in our guide to polishing vs compounding.
4. Follow with a Finishing Polish
Compounds cut, but they also leave microscopic scratches in the paint from the abrasives doing their work. A finishing polish with a soft pad removes those micro-scratches and restores clarity. This step is not optional if you want the paint to look genuinely good rather than just better than it did.
Use the same section-by-section approach, lower machine speed (3 to 4), lighter pressure, and a clean finishing pad. Work through all areas you compounded before moving on.
If you're using a DA polisher for the first time, our step-by-step guide on how to use a dual-action polisher walks through pad loading, speed settings, and pressure in detail.
5. Wipe Down and Inspect
After both steps, wipe the entire car with an isopropyl alcohol (IPA) diluted to around 15 to 20 percent in water. This removes all compound and polish oils from the surface and lets you see the true corrected finish underneath. It also preps the surface for protection to bond properly.
Look at the paint in direct sunlight and under a single-point light source (your phone flashlight works). You're looking for remaining haziness, any new marring from the compound step that the polish didn't fully remove, and any areas where the oxidation is still visible.
Touch up any problem spots before moving to protection.
Protecting the Paint After You've Cut It Back
Correcting oxidation exposes fresh, vulnerable clear coat. If you skip protection, the paint will re-oxidize faster than before because the degraded layer that was offering some minimal barrier is now gone. Don't let the car sit unprotected for more than a day or two.
A quality paste or liquid carnauba wax applied by hand is the most forgiving option and gives a warm finish. A synthetic paint sealant lasts longer (typically 4 to 6 months versus 6 to 8 weeks for wax in typical conditions) and layers well under a ceramic coating if you decide to go that route later.
Apply in thin, even coats, cure to a haze, and buff off. One coat is enough for most cars coming out of a correction. The point is to get something on the paint the same day.
If the oxidation was heavy and you did multiple compound passes, the paint has been through some stress. Let it rest for 24 hours before applying protection, particularly if you worked in high heat.
Frequently Asked Questions
Can I remove oxidation by hand without a machine polisher?
Yes, for light oxidation. Apply a compound with a foam applicator pad using firm circular motion, section by section, then follow with a polish. It takes significantly more effort than machine correction, and the results on moderate to heavy oxidation will be noticeably less complete. If the paint is badly faded across the whole car, a DA polisher is worth the cost.
How do I know if I've gone through the clear coat?
The clear coat is gone when the color coat underneath shows through as a flat, dull shade with no sheen at all, even after polishing. Sometimes you'll also see a color difference between an area you've been working and the surrounding paint. If you suspect you've cut through, stop immediately. Continuing to polish bare color coat accelerates damage. Have a body shop assess whether a spot respray or full panel is needed.
Will rain or sunlight speed up re-oxidation after correction?
Both contribute to oxidation over time. UV light is the primary driver. A good paint sealant or wax adds a layer of UV protection on top of the clear coat and slows the process. Keeping the car covered or garaged when not in use also makes a real difference, especially in high-altitude or sunny climates where UV intensity is higher.
My car is white and has heavy chalking on horizontal panels only. Is that normal?
Yes. Horizontal panels (hood, roof, trunk lid) take the most direct sun exposure, so they oxidize first and worst. Vertical panels like doors often look fine while the hood looks chalked. Correct all oxidized surfaces even if the vertical panels seem okay; the process is the same.
How often will I need to do this?
That depends almost entirely on protection habits after correction. A car that gets waxed or sealed every 2 to 3 months and lives in a garage will stay corrected for years. The same car parked outside in full sun with no protection can re-oxidize noticeably within 6 to 12 months. The correction work is the harder part; keeping it that way mostly just takes a few minutes of product application on wash day.