Interior Detailing
How to Clean a Car Headliner Without Leaving Water Stains
Learn how to clean a car headliner without stains using light dabbing, minimal foam, and fast drying, so you don't risk sagging the fabric.
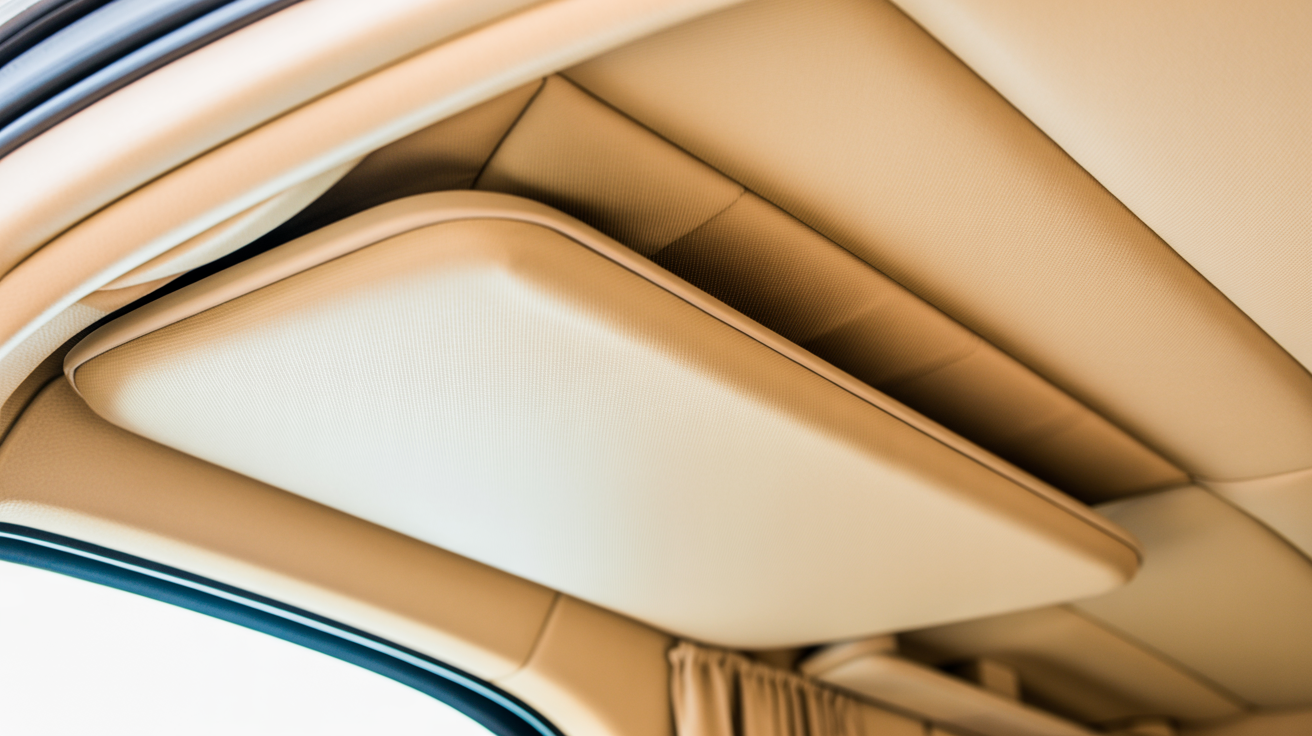
If you've ever looked up at a dingy, spotted ceiling in your car and wondered how to clean a car headliner without stains, you already know the danger: get it wrong and you end up with something worse than what you started with. Most fabric headliners are a thin layer of cloth glued to a foam backing, and that glue is not a fan of water. Soak it, scrub it, or let it sit wet too long and you'll trade a dirty ceiling for a sagging one, or for fresh water rings that look even worse than the dust and handprints you were trying to remove.
The good news is a headliner rarely needs an aggressive clean. Most of what's up there is light dust and oil from hands pressing against it while getting in and out. The safest approach is also the most effective one: minimal moisture, gentle agitation, and quick drying.
Why headliners stain and sag in the first place
The fabric on your ceiling is bonded to a foam board with adhesive, and that whole assembly is held up against the roof by pressure and a few plastic retainer clips. When you flood the fabric with water or cleaner, a few things happen at once. The moisture soaks through the cloth and starts breaking down the glue bond between the fabric and the foam. Once that bond weakens, gravity does the rest, and you get the classic sag, a droopy patch that used to be flat and taut.
Separately, if you clean with too much liquid and let it air dry slowly, the water carries dissolved dirt and cleaner residue to the edges of the wet area as it evaporates, depositing it in a ring right at the boundary between wet and dry fabric. So both failure modes, sagging and staining, come from the same root cause: too much water sitting too long.
This is why a shop vac and a spray bottle, while fine for interior detailing in general, need a much lighter touch when you're working on the ceiling instead of the seats or carpet.
What you need before you start
You don't need a specialty kit. A short list covers almost every job:
- A soft-bristled interior brush or a clean, dry detailing brush
- Two microfiber towels, one slightly damp and one completely dry
- A spray bottle filled with a mild all-purpose cleaner diluted well below full strength, or a dedicated foaming upholstery cleaner
- A shop vac or a vacuum with an upholstery attachment
- A small electric fan, or the ability to park with the windows down
Skip the steam cleaner unless you already have real experience with one on fabric headliners. Steam adds heat and moisture together, and on an older or already-weak headliner that combination can loosen the glue faster than a spray cleaner would.
Before touching any cleaner to the whole ceiling, test it on a small, hidden spot near a sun visor mount and let it dry fully to confirm it won't leave a ring or discolor the fabric.
How to clean a car headliner without stains, step by step
Work in small sections, roughly the size of a sheet of paper, and finish each one before moving to the next.
- Vacuum first. Use the brush attachment to lift loose dust and debris off the fabric before you introduce any liquid. This alone often improves the look of a headliner that's just dusty rather than stained.
- Spray a cloth, not the ceiling. Mist your cleaner onto a microfiber towel or a soft brush rather than spraying it directly onto the headliner. This is the single biggest habit change that prevents oversaturation, since you're controlling exactly how much moisture touches the fabric.
- Dab, don't scrub. Press the damp towel or brush against the section and use light, dabbing or gentle circular motions. Scrubbing hard can pull at the weave of the fabric and, on some materials, cause pilling or fuzzing.
- Wipe with a dry towel immediately. After a few seconds of light agitation, go over the same spot with your dry microfiber towel to lift the moisture and loosened dirt back out. Don't let the cleaner sit and soak in.
- Move to the next section. Repeat across the whole headliner rather than trying to do it all at once. This keeps any one area from staying wet for very long.
If a section still looks dingy after one pass, it's better to repeat the light dab-and-dry cycle a second time than to press harder or add more cleaner on the first pass.
Removing tougher stains without oversaturating the fabric
Handprints near the grab handles, grease from a mechanic's hands, or a food stain that touched the ceiling all respond to the same targeted approach. Apply a small amount of cleaner to a cotton swab or a towel corner, work only the stained spot with light dabbing, and blot dry right away. If the stain doesn't lift immediately, let it sit a minute and try again rather than saturating the spot repeatedly.
Ink and marker stains are the exception where an isopropyl alcohol dab test in a hidden area first is worth doing, since alcohol can affect some headliner dyes. If the test spot changes color or the fabric feels different once dry, stop and stick with a mild upholstery cleaner instead.
The technique here is the same one you'd use to remove stains from car upholstery: treat the spot, not the whole panel, working from the outside of the stain inward so you don't spread it wider.
If the headliner also smells musty or smoky along with looking stained, that's usually trapped odor in the fabric and foam rather than a visible mark. A light cleaning pass helps, but for stubborn odors it's worth reading how to get smells out of your car, since odor removal often needs a different approach than stain removal.
Drying it fast so water rings don't form
Speed is what prevents rings from forming in the first place. As soon as you finish dabbing a section, go over it with the dry towel to pull out as much moisture as you can, then move air across it. Park with all the windows down and, if you have one, point a small fan at the ceiling. On a warm day, ten to fifteen minutes of airflow is often enough to fully dry a section you just cleaned.
Avoid parking with the windows up in direct sun right after cleaning. It feels like it should speed up drying, but trapped humid air inside a closed cabin dries the fabric unevenly, which is the slow, patchy evaporation that produces rings. Moving air, not just heat, is what dries fabric evenly.
If you're cleaning the whole headliner in one session, work in a shaded spot or a garage with the doors open so the sun isn't drying one section while you're still working on another.
When a sagging headliner is beyond a DIY fix
Light cleaning does not cause sagging on a headliner that's in decent shape to begin with. But if your headliner is already older, has been through a previous soaking, or has visible drooping in one or more spots before you even start, cleaning alone won't fix that structural problem. A sag means the adhesive bond between the fabric and the foam backing has already failed in that area, and no amount of surface cleaning restores glue that's no longer bonding.
At that point you're looking at either a repair, usually re-gluing the fabric to the backing with a headliner-specific adhesive, or a professional headliner replacement for a more finished result. This isn't a job for general spray adhesive, since the wrong product can bleed through the fabric and leave visible marks. If more than a small corner is sagging, or the foam backing has started crumbling, get a quote from a shop that does headliner work rather than trying to stretch and reglue it yourself.
Frequently Asked Questions
What's the best cleaner for a fabric car headliner?
A mild, diluted all-purpose cleaner or a dedicated foaming upholstery cleaner both work well. Avoid anything heavily solvent-based, and always spray it onto your towel or brush rather than directly onto the fabric so you control exactly how much moisture touches the headliner.
Can I use a Magic Eraser on a car headliner?
It's risky. Melamine sponges are mildly abrasive and can wear down or fuzz delicate headliner fabric, especially the foam-backed suede-look material found in many newer cars. A soft brush and light dabbing is a safer bet for most fabrics.
How long should I let a headliner dry before closing the car up?
Give it at least a few hours with airflow, windows down or a fan running, before closing everything up for the night. If a section still feels even slightly damp, keep the airflow going rather than sealing in that moisture.
Why does my headliner have brown or yellow spots after cleaning?
That discoloration is usually a water ring from cleaner drying too slowly, or it can be nicotine or oil residue that was already there and got partially loosened by the cleaning. Repeat a light dab-and-dry cycle on the spot rather than adding more liquid at once.
Is it normal for a headliner to sag a little after cleaning?
No, a properly done light cleaning shouldn't cause new sagging. If you notice drooping right after cleaning, it's a sign too much moisture reached the adhesive layer, and you should stop cleaning that section, dry it thoroughly, and monitor it before deciding whether it needs a repair.